
How to Use the Temperature Controls on Ember Mug 3Updated 2 hours ago
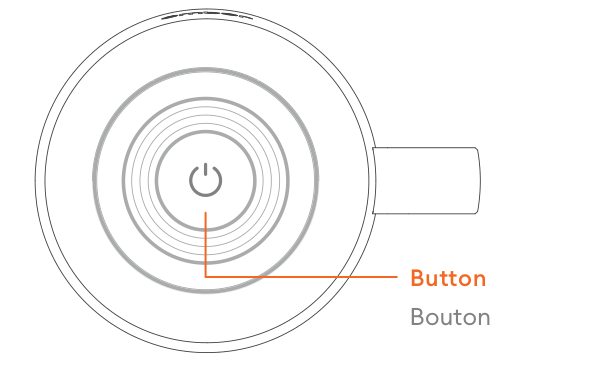
Ember Mug 3 is the first Ember Mug with on-mug temperature control. You can set your temperature with the button on the bottom of the mug, no phone needed.
Checking your current temperature setting
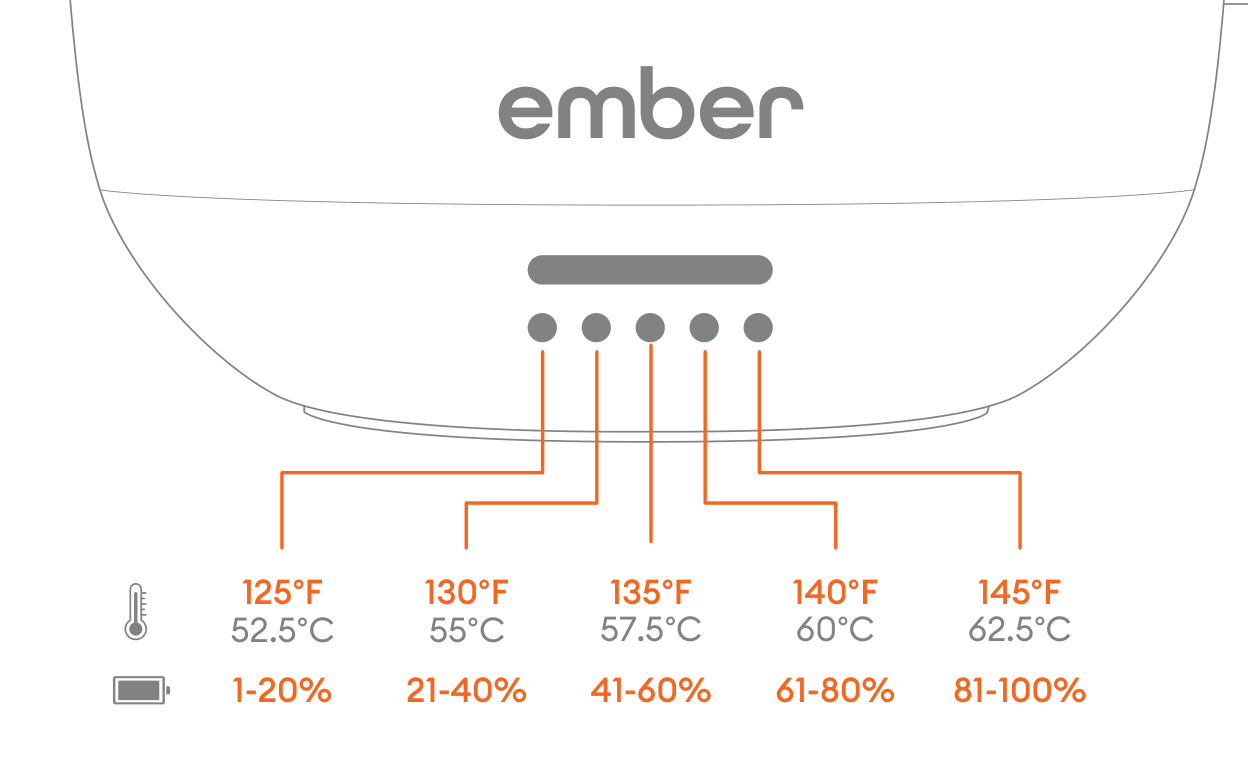
Tap the button on the bottom of your mug once. The row of small lights below the main status light will show your current setting. One light means the lowest preset and five lights means the highest.
Changing your temperature
After the first tap, each additional tap moves to the next preset. The presets cycle in order, so if you tap past the one you want, keep tapping and it will come back around.
The five presets
| 1 light | 125 F / 52.5 C | |
| 2 lights | 130 F / 55 C | |
| 3 lights | 135 F / 57.5 C | Your mug's setting out of the box |
| 4 lights | 140 F / 60 C | |
| 5 lights | 145 F / 62.5 C |
A quick tip
The first tap only shows your setting. It's the taps after that first one that change it. If you just want to peek at your setting, tap once and let the lights fade.
Want a temperature between presets?
Open the Ember app. The app lets you set any temperature in the supported range, just like previous Ember Mugs. If you set a temperature in the app that isn't one of the five presets, a single tap on the button will show the closest preset, but your exact app setting stays active until you tap again to change it.
Other button functions
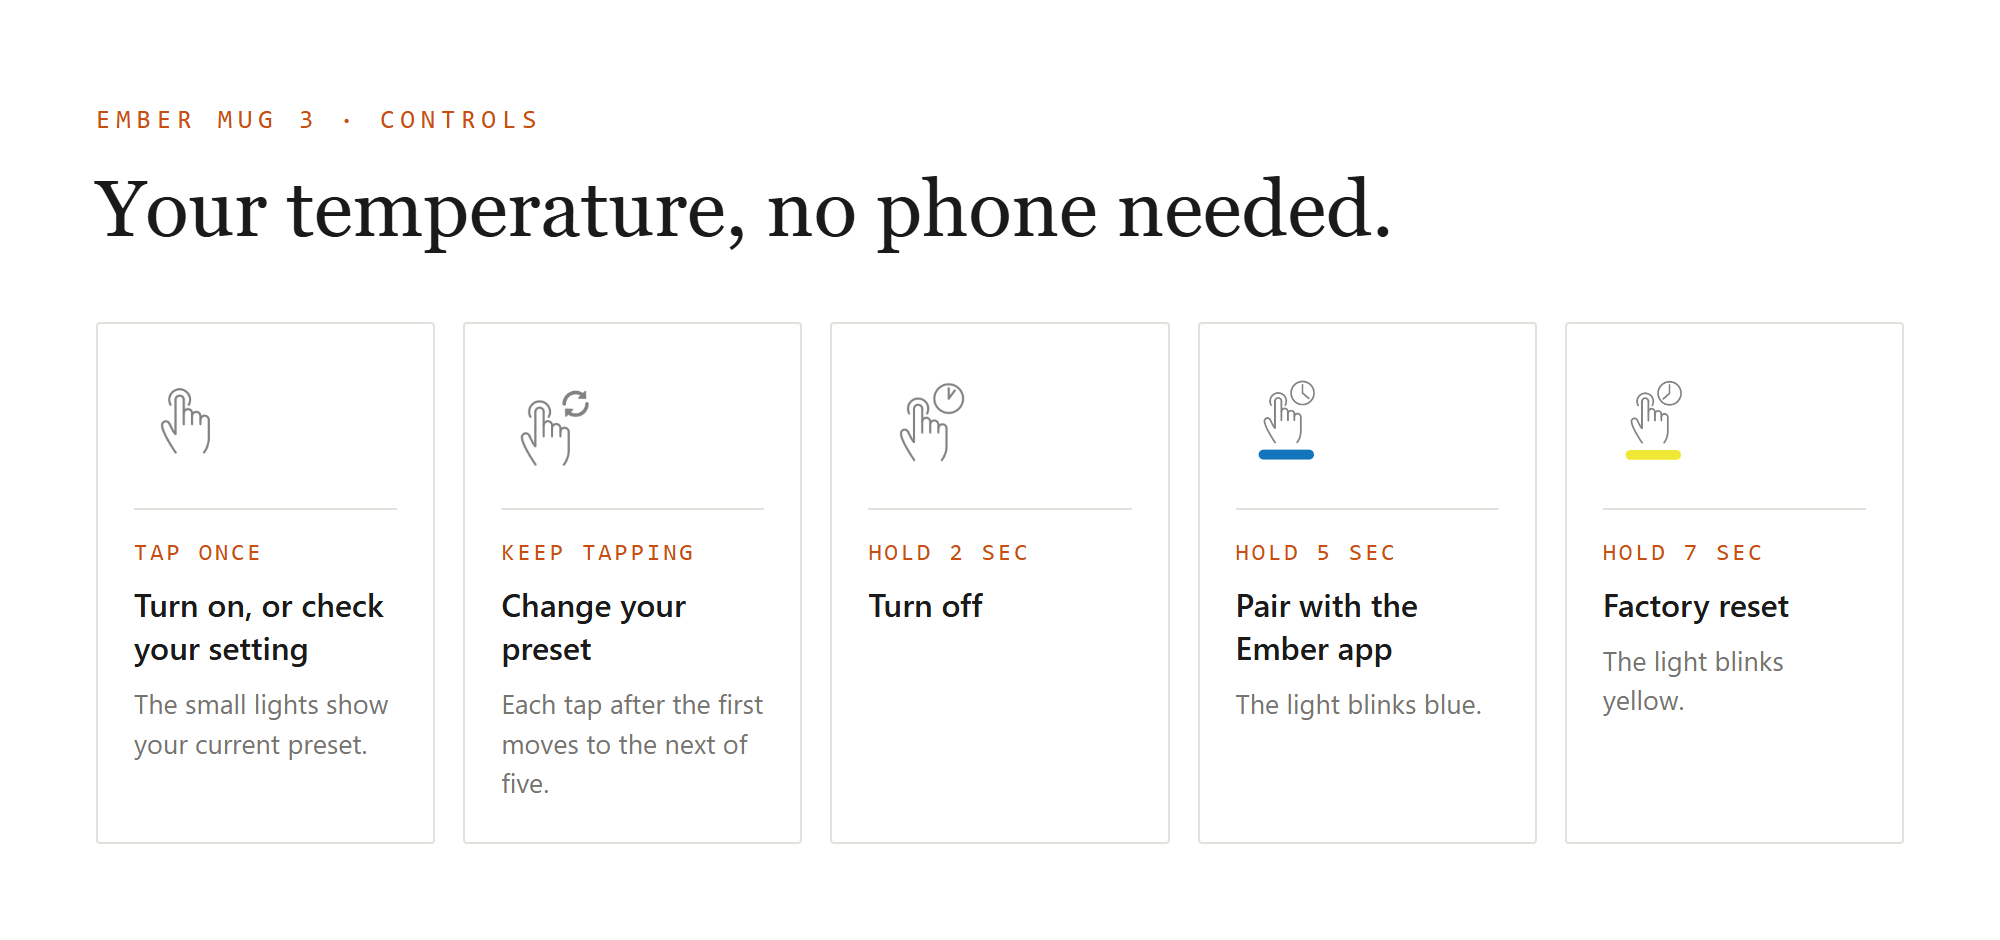
- Turn on: tap once while the mug is off
- Turn off: press and hold for 2 seconds
- Pair with the app: press and hold for 5 seconds until the light blinks blue
- Factory reset: press and hold for 7 seconds until the light blinks yellow